Are you a gardener looking to use coco coir in your planting mix? If so, it’s crucial to ensure that the coco coir is pasteurized before use. Pasteurizing coco coir eliminates harmful bacteria and fungi that could damage your plants or even pose a health risk to you.
This article will guide you through the process of pasteurizing coco coir, step by step. We’ll cover everything from gathering the necessary materials to choosing the right pasteurization method. By the end of this article, you’ll have all the knowledge you need to use pasteurized coco coir with confidence.
Let’s get started!
What is Coco Coir and Why Pasteurize it?
Coco coir, also known as coco peat, is a natural fiber derived from the husk of coconuts. This versatile growing medium has become increasingly popular among gardeners due to its ability to retain moisture, aerate soil, and promote healthy root growth.
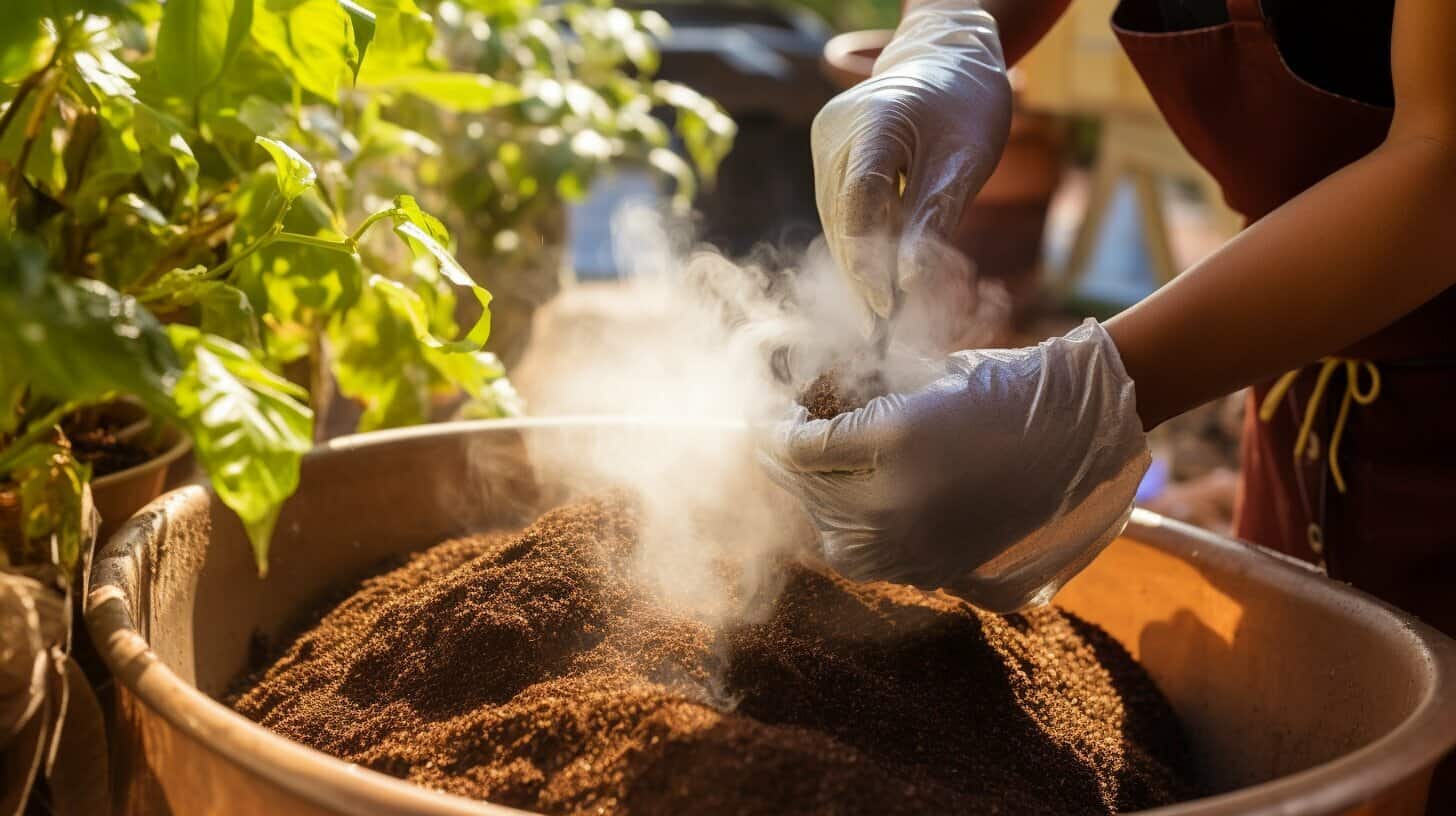
However, coco coir may harbor harmful pathogens, bacteria, and fungi that can be detrimental to plant growth and development. That’s why it’s important to pasteurize coco coir before using it in gardening.
Pasteurization is the process of heating coco coir to a specific temperature for a certain amount of time to kill off any harmful microorganisms that may be present. This ensures that plants grow in a healthy environment, free from any potential diseases or pests.
By pasteurizing coco coir, you not only ensure the safety of your plants but also improve their overall growth and health.
Gathering the Materials
Before you begin pasteurizing your coco coir, it’s important to gather all the necessary materials. Here’s what you’ll need:
| Materials | Quantity |
|---|---|
| Coco coir | 1-2 bricks or 1-2 bags, depending on the amount you need |
| Large container | 1 (big enough to hold the coco coir and water) |
| Thermometer | 1 (to measure the water temperature) |
| Heating source | 1 (such as a stove or hot plate, depending on the pasteurization method you choose) |
| Water | Enough to cover the coco coir in the container |
Make sure you have all the materials ready before you start pasteurizing your coco coir. This will help ensure a smooth and efficient process.
Preparing the Coco Coir
Once you have gathered all the necessary materials, it’s time to prepare the coco coir for pasteurization. This step is crucial to ensure that the coco coir is properly heated and pasteurized.
Soaking the Coir
Begin by soaking the coco coir in a container filled with water. Use enough water to fully submerge the coir. Let it soak for at least an hour, or until the coir has fully expanded and softened.
Breaking up the Coir
Once the coir has soaked, it’s time to break it up. Use your hands or a fork to separate any clumps and ensure the coir is evenly loosened.
Checking for Unwanted Materials
Before proceeding with the pasteurization process, it’s important to check for any unwanted materials in the coco coir. Be sure to remove any large particles or debris, as they can harbor harmful bacteria or fungi.
By following these simple steps, you can ensure that your coco coir is properly prepared for pasteurization and ready to provide optimal growth conditions for your plants.
Choosing the Pasteurization Method
There are multiple methods to pasteurize coco coir, but the choice largely depends on your preferences, budget, and equipment. Here are some popular options:
Hot Water Pasteurization
This is a common and cost-effective method that involves soaking coco coir in hot water to kill pathogens. Here’s how to do it:
| Step | Description |
|---|---|
| 1 | Wear gloves and a face mask to protect yourself from microbes and dust. |
| 2 | Fill a large container with water and heat it to 71-82°C (160-180°F), maintaining this temperature for at least an hour. |
| 3 | Soak the coco coir in the hot water for an hour or until the temperature of the coir increases to the same as the water. |
| 4 | Drain the water from the coir and let it cool down to room temperature. |
This method is easy to execute and doesn’t require sophisticated equipment. However, it may not be suitable for large quantities of coco coir. Also, make sure to avoid using tap water because it may contain chlorine or other chemicals that can harm the coir.
Steam Pasteurization
This method involves exposing coco coir to steam to eliminate germs. Commercial growers often use this method on large-scale production. Here’s how to do it:
| Step | Description |
|---|---|
| 1 | Place the coco coir in a pasteurization chamber, which is a sealed tank that allows steam to circulate. |
| 2 | Connect the chamber to a boiler or steam generator that will produce steam at 82-93°C (180-200°F). |
| 3 | Heat the chamber to the recommended temperature and maintain it for 1-3 hours, depending on the amount of coco coir. |
| 4 | Cool down the coir and remove it from the chamber. |
Steam pasteurization is a reliable method that ensures thorough disinfection. However, it can be expensive and requires specialized equipment and expertise. It may not be feasible for home gardeners unless they have access to such equipment.
When choosing the method of pasteurizing coco coir, consider your needs, resources, and budget. Either way, make sure to follow the right timing and temperature for optimal results.
Hot Water Pasteurization
Hot water pasteurization is a popular method for pasteurizing coco coir as it is relatively easy to execute. To begin, fill a large container with water and heat it to 180-190°F (82-88°C). Once the water reaches the desired temperature, turn off the heat source and place the coco coir inside the container. Ensure that the coir is fully submerged in water, and stir it occasionally for at least one hour. This ensures that the heat penetrates through the entire substrate evenly.
One thing to be mindful of during the hot water pasteurization process is to keep the temperature in check. If the temperature goes too high, it can kill the microorganisms that are essential for coco coir to work efficiently. However, if the temperature is too low, it may not kill all the harmful pathogens. Therefore, it is crucial to keep an accurate and consistent temperature throughout the process.
After the pasteurization process is complete, drain the water and allow the coco coir to cool down. Rinse it thoroughly to remove any remaining dirt or unwanted materials. Once the coir is dry, you can use it for your gardening needs. It is best to store the pasteurized coco coir in a clean and dry environment, away from any sources of contamination.
Note: It is essential to wear gloves and other protective gear when handling hot water, as it can cause severe burns.
Steam Pasteurization
Another effective method of pasteurizing coco coir is through steam. This method involves exposing the coir to high-temperature steam for a set amount of time to kill off harmful bacteria and pathogens.
To begin, you will need a large pot or steamer capable of fitting the amount of coir you wish to pasteurize. Fill the pot with water and bring it to a boil. Once the water is boiling, reduce the heat to a simmer and add the coco coir to a metal steaming basket or colander, ensuring that the steam can circulate through the coir effectively.
| Step | Process | Duration |
|---|---|---|
| 1. | Add coco coir to the steaming basket or colander. | N/A |
| 2. | Place the basket or colander into the pot or steamer. | N/A |
| 3. | Cover the pot or steamer with a lid and steam the coco coir. | 1-2 hours |
The coco coir should be steamed for at least an hour, with two hours being the maximum duration. Make sure to monitor the steam temperature to ensure it remains at a consistent 180-200°F (80-93°C) temperature range throughout the process. Also, ensure that the coco coir is not exposed to the steam for too long as this can damage the quality and nutrient content of the coir.
Once the pasteurization process is complete, remove the coir from the pot or steamer using gloves and allow it to cool before using it for gardening purposes. Make sure to store the pasteurized coco coir in a clean, dry environment to prevent contamination and preserve its quality.
Timing and Temperature Considerations
During the pasteurization process, timing and temperature play vital roles in ensuring the coco coir is safe to use for gardening.
Timing
The length of time required for the pasteurization process may differ depending on the method used. For hot water pasteurization, the coco coir should be soaked in water that is 160-180°F (70-82°C) for at least 30 minutes. For steam pasteurization, the coir should be steamed for 2-3 hours at a temperature of 160-180°F (70-82°C).
It’s important to follow the recommended times for each method to ensure that the coco coir is properly pasteurized.
Temperature
The temperature of the water or steam used during pasteurization is also crucial. The ideal temperature range is between 160-180°F (70-82°C). Temperatures below this range may not properly pasteurize the coco coir, while temperatures above may cause damage to the coir fibers.
Using a thermometer to monitor water or steam temperatures can help ensure that the coco coir is heated to the proper temperature and reduce the risk of over-heating or under-heating.
By carefully monitoring timing and temperature during the pasteurization process, you can ensure that your coco coir is safe and ready for use in your gardening needs.
Cooling and Storing Pasteurized Coco Coir
After the pasteurization process is complete, it’s important to properly cool and store the coco coir to maintain its quality and prevent contamination.
First, remove the coco coir from the pasteurization container and spread it out on a clean, dry surface. Allow it to cool down to room temperature before handling it further.
Next, store the pasteurized coco coir in a clean, airtight container. This will protect it from moisture, pests, and other contaminants. Avoid using plastic bags or containers that may release chemicals or harbor bacteria. Instead, use a food-grade plastic or metal container with a tight-fitting lid.
Keep the container in a cool, dry place away from direct sunlight. Do not expose the coco coir to extreme temperatures or humidity, as this can affect its quality. If stored properly, pasteurized coco coir can last for several months.
Benefits of Pasteurized Coco Coir
Pasteurized coco coir offers numerous benefits for gardening needs. Here are some of the advantages of using pasteurized coco coir:
- Improved plant growth: Pasteurized coco coir provides a clean, nutrient-rich environment that promotes healthy plant growth. It retains moisture well, helping to keep plants hydrated.
- Disease prevention: Pasteurization kills harmful bacteria, fungi, and other microorganisms that can cause plant diseases. This helps to ensure that the plants remain healthy and productive throughout their lifespan.
- Nutrient retention: Coco coir has a high cation exchange capacity (CEC), which means it can hold onto nutrients and release them slowly over time. This helps to provide plants with a steady supply of nutrients, reducing the need for frequent fertilization.
- Sustainable: Coco coir is a renewable resource that is biodegradable and environmentally friendly. It is a great alternative to peat moss, which is often harvested from ecologically sensitive areas.
By using pasteurized coco coir, gardeners can enjoy healthier, more productive plants while minimizing the risk of disease or contamination.
Troubleshooting and Common Mistakes
Pasteurizing coco coir is a relatively straightforward process, but sometimes unexpected issues can arise. Here are some common mistakes to avoid, along with troubleshooting tips:
Issue: Coir Is Too Wet After Pasteurization
If your coco coir is excessively wet after pasteurization, it’s likely that you didn’t drain it thoroughly enough before storing. Make sure to squeeze out as much excess water as possible before storing the coir, or leave it to drain for a little longer before use.
Issue: Coir Has an Unpleasant Odor
If your pasteurized coco coir has a sour or unpleasant smell, it could indicate that it wasn’t heated for long enough. Try extending the pasteurization time and pay close attention to the temperature to ensure that it reaches the recommended levels for the entire duration of the process.
Issue: Mold or Other Contaminants are Present
If you notice any mold or other contaminants in your pasteurized coco coir, it’s possible that your sterilization process wasn’t thorough enough. Make sure to follow all pasteurization steps carefully and consider increasing the temperature or duration of the process to ensure complete sterilization.
Issue: Coir is Clumping Together
If your coco coir is clumping together after pasteurization, it’s likely that you didn’t break it up sufficiently before pasteurization. Make sure to separate the coir thoroughly before soaking and break apart any large clumps to ensure even heating and pasteurization.
By avoiding these common mistakes and taking the necessary precautions, you can ensure that your pasteurized coco coir is safe, healthy, and perfect for your gardening needs.
Frequently Asked Questions (FAQ)
Here are some commonly asked questions about pasteurizing coco coir:
Q: What is coco coir?
A: Coco coir is a natural fiber extracted from the husk of coconuts. It is commonly used in gardening as a soil amendment or growing medium.
Q: Why do I need to pasteurize coco coir?
A: Pasteurization helps eliminate harmful pathogens, pests, and weed seeds that may be present in coco coir. This ensures that your plants are not compromised by diseases or pests that could stunt or kill their growth.
Q: What materials do I need to pasteurize coco coir?
A: You will need a large container, a thermometer, a heat source (such as a stove or hot plate), and of course, your coco coir.
Q: How do I prepare coco coir for pasteurization?
A: First, soak the coco coir in water to rehydrate it. Then, break it up into smaller pieces and check for any unwanted materials like sticks or rocks that may have been mixed in.
Q: What is the best pasteurization method?
A: The best method for pasteurizing coco coir depends on your specific needs and preferences. Hot water pasteurization is the most commonly used method and is simple to do at home. Steam pasteurization is a good option for larger quantities or commercial use.
Q: What temperature should I pasteurize coco coir?
A: The temperature should be between 140-180°F (60-82°C) for both hot water and steam pasteurization methods.
Q: Can I reuse pasteurized coco coir?
A: Yes, pasteurized coco coir can be reused as a growing medium or soil amendment. However, make sure to store it properly to prevent contamination.
Q: What are the benefits of using pasteurized coco coir?
A: Pasteurized coco coir offers improved plant growth, disease prevention, and nutrient retention. It is also an eco-friendly alternative to traditional soil and is easy to use.
Q: What are some common mistakes to avoid when pasteurizing coco coir?
A: Some common mistakes include using the wrong temperature or not heating the coir evenly, not checking for unwanted materials, and not allowing the coir to cool properly before using it.
If you have any further questions or concerns about pasteurizing coco coir, always consult a gardening expert or do additional research before proceeding.