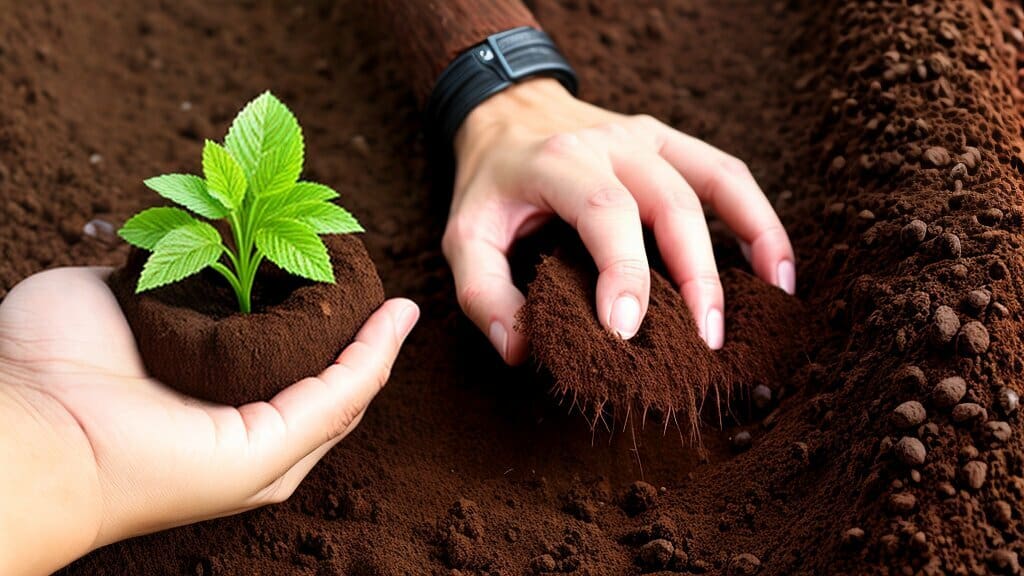
Growing plants from seeds can be a fulfilling experience, but it requires the right conditions for healthy seedling development. One key factor is the choice of the growing medium, and coco coir has become a popular option for seed starting.
Coco coir is made from the fibrous husks of coconut shells and is a renewable and eco-friendly alternative to traditional peat moss. It has excellent water retention properties and provides good aeration, making it an ideal medium for seed germination.
In this guide, we will take you through the steps of starting seeds in coco coir, from preparing the medium to providing optimal conditions for seedling growth.
Key Takeaways:
- Coco coir is a renewable and eco-friendly alternative to peat moss for seed starting.
- It has excellent water retention properties and provides good aeration for healthy seedling development.
- Proper techniques for preparing and using coco coir can lead to successful seed germination and robust seedling growth.
Why Choose Coco Coir for Seed Starting?
Coco coir is a versatile and sustainable option for starting seeds. This natural fiber comes from the outer husk of coconuts and offers many benefits for successful seed germination and healthy seedling growth.
Excellent Water Retention
Coco coir can hold up to 10 times its weight in water, providing a consistent source of moisture for seeds to germinate. This feature is particularly useful in dry climates or if you have trouble with over or under-watering your seedlings.
Provides Aeration
Coco coir also promotes good air circulation around roots, allowing for proper uptake of oxygen, which is essential for healthy plant growth. Unlike traditional soil, coco coir does not compress easily, maintaining its fluffiness, and improving drainage in the process.
Eco-friendly
Coco coir is a renewable resource and a sustainable alternative to traditional peat-based soil mixes. Peat extraction can harm delicate ecosystems, while coco coir is a byproduct of the coconut industry that would otherwise be considered waste. Choosing coco coir for starting seeds is a responsible choice for gardeners who are environmentally conscious.
Overall, using coco coir as a seed starting medium provides a reliable and cost-effective way to produce healthy seedlings that will grow into thriving plants.

Preparing Coco Coir for Seed Starting
Before sowing your seeds, it is important to properly prepare your coco coir for optimal germination. Follow these steps to prepare your coco coir:
- Rehydrate the coco coir: Coco coir comes in a dehydrated form, so it needs to be rehydrated before use. To do this, add water to the coco coir and allow it to absorb the water. This may take a few minutes, so be patient and add more water as needed until the coco coir is fully hydrated.
- Adjust the pH level: The ideal pH level for seed germination in coco coir is between 5.5 and 6.5. Use a pH meter or pH test kit to check the pH level of your coco coir. If the pH level is too high or too low, you can adjust it by adding either dolomite lime or sulfur powder, respectively. Follow the instructions on the product label for the correct amount to use.
- Add necessary amendments: To provide essential nutrients for seed germination, you can add amendments such as worm castings, compost, or a seed starting fertilizer to the coco coir. Mix the amendments thoroughly into the coco coir.
By properly preparing your coco coir, you will create an ideal environment for your seeds to germinate and grow into healthy seedlings.
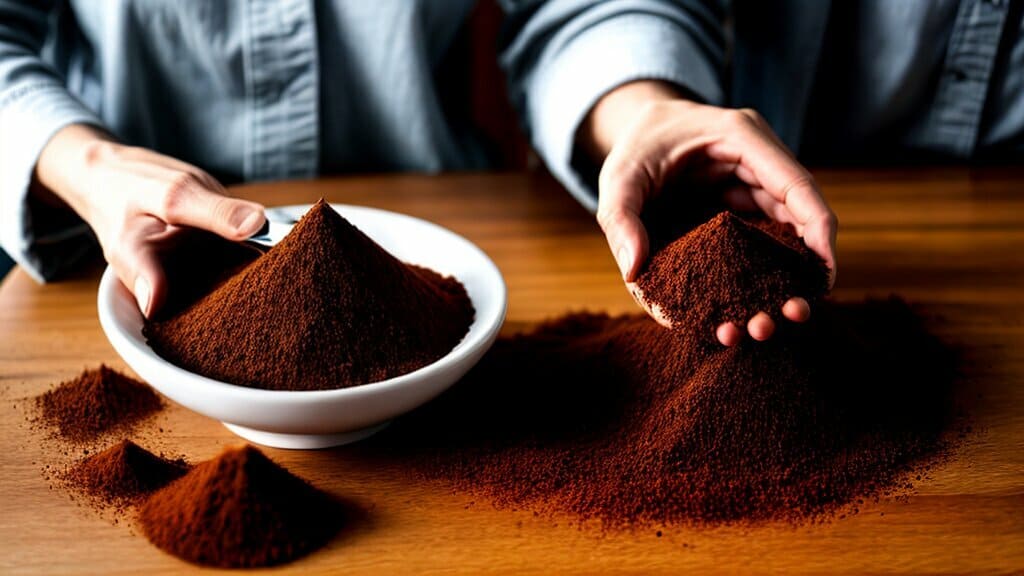
Choosing the Right Containers
Choosing the right containers for seed starting in coco coir is essential for the healthy growth of seedlings. The container’s size and drainage are critical factors in moisture retention and aeration, which determine the successful germination of seeds.
A container that is too small will not provide enough space for the roots to develop, leading to stunted growth and poor plant health. On the other hand, a container that is too big can trap excess moisture, leading to fungal diseases and root rot.
| Container Type | Size Recommendation | Drainage |
|---|---|---|
| Seed trays | 6-12 cells per tray, 1-2 inches deep | Multiple drainage holes at the bottom of each cell |
| Pots | 2-4 inches in diameter for small seeds, 4-6 inches for large seeds | Several drainage holes at the bottom of the pot |
| Grow Bags | 1-2 gallons for small seeds, 3-5 gallons for large seeds | Several drainage holes at the bottom and sides of the bag |
It’s crucial to ensure that the container has adequate drainage holes for excess water to drain out. Without proper drainage, the coco coir can become waterlogged, leading to poor aeration and the risk of fungal diseases.
For beginners, it’s recommended to start with seed trays, which are readily available and come with multiple cells. They provide uniform growing conditions and make it easy to transplant seedlings later on.
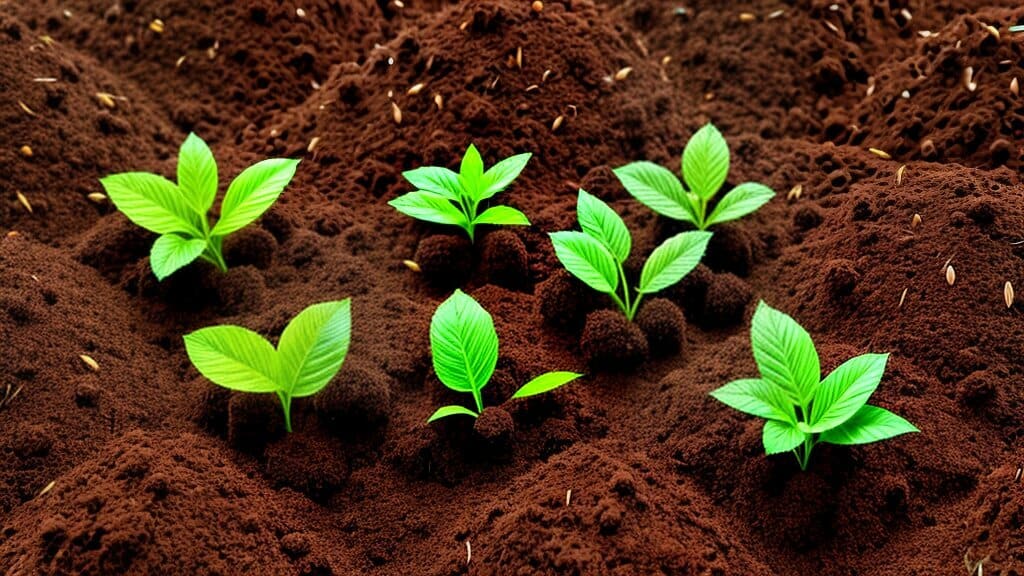
Selecting High-Quality Seeds
Starting with high-quality seeds is crucial for successful seed propagation in coco coir. Here are some top tips for selecting the best seeds:
- Choose fresh seeds: Ensure that the seeds you select are fresh and have not been stored for too long. Old seeds may have lower germination rates and produce weaker seedlings.
- Check for viability: Some seeds may be dormant or damaged, so it’s important to conduct tests to ensure they are viable. One popular technique is the water test, in which seeds are submerged in water to check for buoyancy.
- Read seed packets: Seed packets contain important information such as planting depth, spacing, and germination time. Be sure to read them carefully before selecting your seeds.
- Consider your climate: Some plants are better suited to certain climates, so choose seeds that are adapted to your region’s climate for the best chance of success.
Remember that even with the best seeds, proper seed starting techniques are essential for healthy seedlings. In the next section, we’ll cover the step-by-step process for sowing seeds in coco coir.
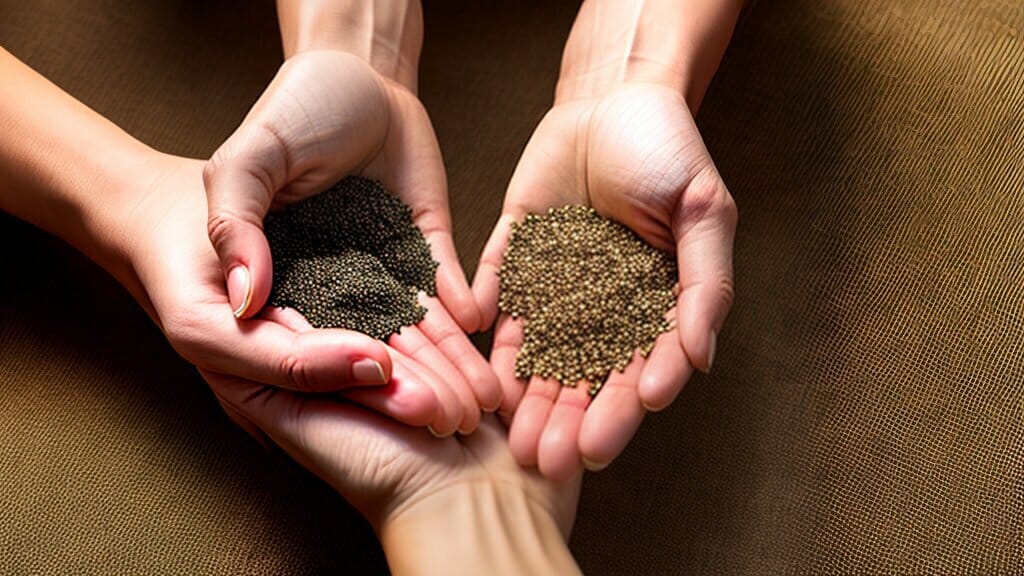
Sowing Seeds in Coco Coir
Now that you have prepared your coco coir and chosen the appropriate containers, it’s time to sow your seeds. Follow these simple steps for successful seed starting in coco coir:
- Moisten the coco coir: Before sowing your seeds, make sure your coco coir is moist, but not waterlogged. Use a spray bottle or a watering can with a gentle stream to moisten the surface of the coir.
- Sow the seeds: Make small holes in the coco coir, one for each seed. The depth at which you place your seeds will depend on the instructions on the seed packet. Place the seed into the hole and cover it with a light layer of coco coir.
- Label your containers: Label each container with the name of the plant and the date of planting. This will help you keep track of your seedlings throughout the germination process.
- Cover the containers: Cover the containers with a plastic lid or a clear plastic bag to retain moisture. Make sure the lid or bag is not touching the soil to allow proper air circulation.
- Provide light and warmth: Seeds need warmth and light to germinate. Place your containers in a warm, bright location or use a heating mat and a grow light to provide optimal conditions for germination.
- Check moisture levels: Check the moisture level of your coco coir regularly. Mist the surface of the soil with water if it feels dry to the touch. Avoid overwatering as this can lead to damping off.
Following these steps will give your seeds the best possible start in coco coir. Remember to keep an eye on your seedlings and adjust the environment as necessary to ensure healthy growth.

Providing Optimal Conditions for Seedlings
Providing the right conditions for seedlings is crucial for their healthy growth. After sowing the seeds, make sure the coco coir stays moist but not waterlogged. A good way to ensure consistent moisture is to cover the containers with plastic wrap or a humidity dome until the seeds germinate.
Once the seedlings emerge, remove the plastic wrap or humidity dome and place the containers in a warm, bright area. A temperature range of 65-75°F is ideal for most seedlings, although some plants may require slightly higher or lower temperatures.
Seedlings also need adequate light to grow properly. Provide them with 12-16 hours of bright light per day, either from a south-facing window or grow lights. If you’re using grow lights, keep them 2-3 inches above the seedlings to prevent them from getting too hot or too cold.
Air circulation is also important for seedlings, as it helps prevent fungal diseases and promotes healthy growth. Keep a fan or an open window in the room to ensure good air circulation while still maintaining a steady temperature.
Remember to monitor the coco coir moisture levels and adjust watering as needed. Avoid overwatering, as this can lead to root rot and other issues. With proper care, your seedlings will thrive and be ready for transplanting in no time.

Nutrient Management for Seedlings in Coco Coir
Providing the right nutrients to seedlings is crucial for their healthy growth in coco coir. While this growing medium is great for water retention and aeration, it does not contain sufficient nutrients for young plants to thrive.
One of the best ways to manage nutrients for seedlings in coco coir is by using a balanced fertilizer. Look for a fertilizer with a balanced ratio of nitrogen, phosphorus, and potassium (NPK). The NPK ratio should be indicated on the fertilizer package.
It’s important to start fertilizing seedlings at the right time. Avoid applying fertilizer to newly sprouted seedlings, as this can cause fertilizer burn and damage to the delicate roots. Wait until the first set of true leaves has developed before applying a diluted fertilizer solution.
When applying fertilizer to seedlings in coco coir, it’s crucial to follow the manufacturer’s instructions for the proper dilution ratio. Over-fertilizing can lead to nutrient toxicity, which can damage the roots and cause stunted growth.
Monitor the nutrient levels in the coco coir regularly to adjust the fertilizer application accordingly. A simple way to check nutrient levels is by using a pH meter or test kit, which can be found at most garden centers.
Remember to water seedlings with plain water in between fertilizer applications to prevent salt buildup in the coco coir.
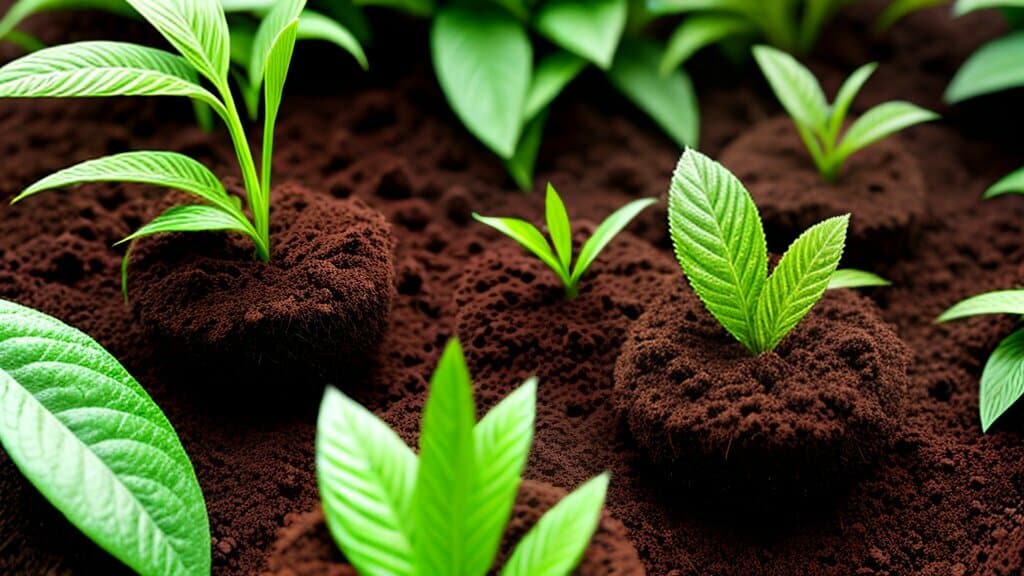
Providing the right nutrients to seedlings grown in coco coir is crucial for their healthy growth.
Transplanting Seedlings from Coco Coir
Once your seedlings have grown their first true leaves and are big enough to handle, it’s time to transplant them from the coco coir to their final container or garden bed. This can be a delicate process, so it’s important to follow proper techniques to ensure the seedlings are not damaged and can continue to grow healthily.
Preparing the Final Container
Before transplanting your seedlings, make sure the final container or bed is prepared to receive them. The container should be filled with a well-draining soil mix that is suitable for the plant you are growing. If you are transplanting to a garden bed, make sure the soil is loosened and amended with organic matter, such as compost.
It’s important to avoid overfilling the container with soil, as this can result in poor drainage and suffocate the root system. Leave enough space in the container for the seedlings to grow and establish their root system.
Transplanting the Seedlings
First, water the coco coir well to help loosen it from the container. Gently loosen the coco coir around the seedlings and carefully lift them out, making sure to keep the roots intact. If the seedlings are tightly packed together, use a small spoon or fork to separate them.
Make a small hole in the soil mix in the final container or bed, using a dibber or your finger. Plant the seedling in the hole up to the base of its leaves, gently firming the soil around it. Make sure the seedling is straight and not leaning to one side.
Repeat this process for all the seedlings, spacing them appropriately in the container or bed. Water the seedlings thoroughly but gently, making sure the soil is evenly moist.
Acclimatizing the Seedlings
Transplant shock can be a common problem for seedlings, so it’s important to acclimate them gradually to their new environment. If the seedlings were previously growing indoors, gradually expose them to outdoor conditions by placing them in a sheltered spot for a few hours each day. Increase the time outside gradually over several days.
Keep a close eye on the seedlings for the first few days after transplanting and make sure they are not showing signs of stress, such as wilting or yellowing leaves. Water them regularly and protect them from extreme weather conditions, such as strong winds or heavy rain.
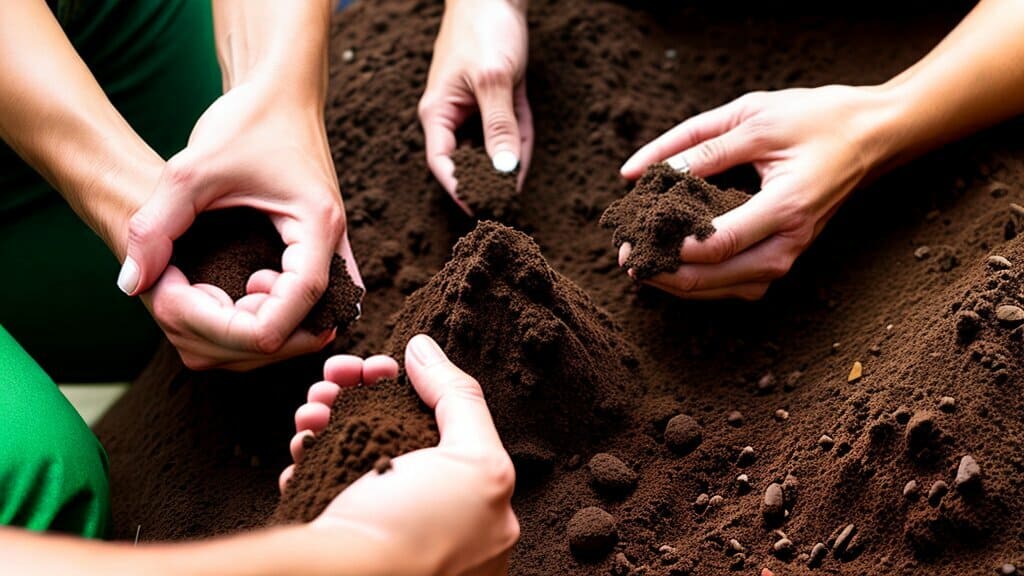
With proper transplanting techniques and care, your seedlings should continue to grow and thrive in their new container or bed.
Troubleshooting Common Issues
Despite following the proper techniques, some common issues may arise during seed starting in coco coir. Here are some of the most frequent problems and how to troubleshoot them:
| Issue | Cause | Troubleshooting |
|---|---|---|
| Damping off | Fungal disease due to overwatering or poor air circulation | Reduce watering frequency, improve air circulation, and apply a fungicide if necessary. |
| Leggy seedlings | Lack of adequate light or improper temperature | Provide more light or adjust temperature as necessary. Consider using grow lights if natural light is not sufficient. |
| Fungal diseases | Poor sanitation, overwatering, or lack of proper ventilation | Ensure proper sanitation, adjust watering frequency, and improve ventilation to prevent fungal diseases. Apply a fungicide if necessary. |
If you encounter other issues not covered here, it’s best to research the specific symptoms and causes to find the appropriate troubleshooting steps.
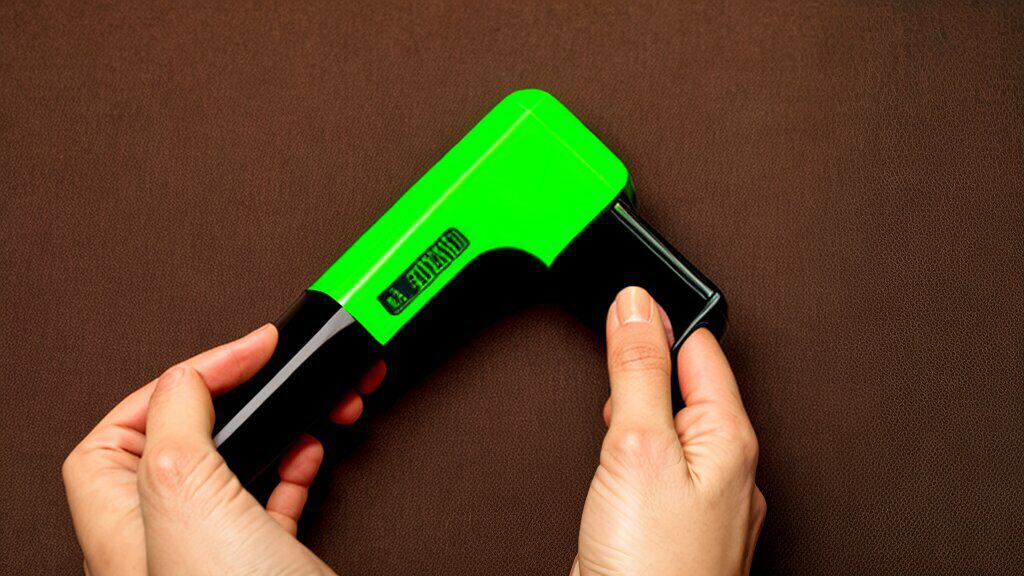
“The key to successful seed starting in coco coir is to be vigilant and proactive when it comes to identifying and addressing issues. A little troubleshooting can go a long way in ensuring healthy and vigorous seedlings.”
Conclusion
Starting seeds in coco coir can be a rewarding and eco-friendly way to propagate healthy seedlings for your garden. By following proper techniques, you can ensure successful germination and transplanting of seedlings. Remember to choose high-quality seeds, prepare the coco coir properly, and provide optimal conditions for seedling growth.
Choosing appropriate containers, managing nutrient levels, and troubleshooting common issues can all contribute to the success of your seed starting endeavors. With some patience and practice, you can become an expert in starting seeds in coco coir.
We hope this guide has been helpful in providing the necessary information to get started with coco coir seed starting. By using this medium, you can have healthy seedlings and thriving gardens. Happy gardening!
FAQ:
Q: How do I start seeds in coco coir?
A: To start seeds in coco coir, follow these steps:
1. Rehydrate the coco coir by soaking it in water.
2. Adjust the pH level of the coco coir if needed.
3. Add necessary amendments for optimal seed germination.
4. Choose appropriate containers with proper drainage.
5. Select high-quality seeds for successful germination.
6. Sow the seeds in the coco coir at the recommended depth and spacing.
7. Provide optimal conditions for seedlings, including temperature, light, and air circulation.
8. Manage nutrient levels to support healthy seedling growth.
9. Transplant seedlings from the coco coir to their final containers or garden beds.
10. Troubleshoot common issues that may arise during the seed starting process.
Q: Why should I choose coco coir for seed starting?
A: Choosing coco coir for seed starting has several benefits:
1. Excellent water retention properties, ensuring consistent moisture levels for seed germination.
2. Provides aeration to the roots, preventing issues like root rot.
3. Eco-friendly, as coco coir is a renewable resource.
4. Promotes healthy seedling development and reduces transplant shock.
Q: How do I prepare coco coir for seed starting?
A: Follow these steps to prepare coco coir for seed starting:
1. Rehydrate the coco coir by soaking it in water as per the manufacturer’s instructions.
2. Adjust the pH level of the coco coir using a pH testing kit.
3. Add necessary amendments such as perlite or vermiculite for improved drainage and aeration.
4. Mix the coco coir thoroughly to ensure the amendments are evenly distributed.
5. Allow the coco coir to drain excess water before sowing seeds.
Q: What containers should I use for seed starting in coco coir?
A: When starting seeds in coco coir, it is important to choose the right containers:
1. Use containers with adequate drainage holes to prevent waterlogging.
2. Opt for containers of appropriate size, allowing enough space for root development.
3. Consider using biodegradable pots or trays for seamless transplanting.
4. Choose containers based on your gardening experience and the specific seedling’s requirements.
Q: How do I select high-quality seeds for seed starting in coco coir?
A: Follow these tips when selecting seeds for seed starting:
1. Choose reputable seed suppliers for quality assurance.
2. Check seed packets for information on germination rates and days to maturity.
3. Look for seeds that have been properly stored in cool and dry conditions.
4. Avoid seeds that are discolored, damaged, or expired.
5. Consider organic, heirloom, or hybrid seeds based on your preferences.
Q: What is the step-by-step process for sowing seeds in coco coir?
A: Here is a step-by-step guide for sowing seeds in coco coir:
1. Fill containers with moistened coco coir, leaving enough space for seedlings.
2. Sow seeds at the recommended depth provided on the seed packet.
3. Space seeds appropriately to prevent overcrowding.
4. Gently water the coco coir using a misting sprayer or a watering can with a fine rose attachment.
5. Cover the containers with a plastic dome or plastic wrap to create a mini greenhouse effect.
6. Place the containers in a warm and well-lit location, avoiding direct sunlight.
Q: How can I provide optimal conditions for seedlings in coco coir?
A: To provide optimal conditions for seedlings in coco coir, consider the following:
1. Maintain a consistent temperature within the recommended range for the seeds.
2. Provide adequate light by placing the seedlings under grow lights or near a sunny window.
3. Ensure proper air circulation by using a fan or opening windows if weather permits.
4. Avoid overwatering or underwatering, keeping the coco coir moist but not waterlogged.
5. Monitor the seedlings for signs of stress or nutrient deficiencies and take appropriate action.
Q: How should I manage nutrients for seedlings in coco coir?
A: Follow these tips for nutrient management in seedlings growing in coco coir:
1. Use balanced fertilizers specifically formulated for seedlings.
2. Start with a diluted solution of the fertilizer and gradually increase the strength.
3. Monitor the nutrient levels using a soil test kit or by observing plant growth and health.
4. Adjust the nutrient regimen based on the specific needs of the seedlings.
5. Avoid excessive nutrient application, as it can lead to nutrient burn or toxicity.
Q: How do I transplant seedlings from coco coir to their final containers or garden beds?
A: Transplanting seedlings from coco coir can be done following these steps:
1. Wait until the seedlings have developed a strong root system and true leaves.
2. Gently loosen the coco coir around the seedlings to avoid root damage.
3. Prepare the final containers or garden beds with suitable soil or potting mix.
4. Make a hole in the soil or potting mix and carefully place the seedling’s roots into it.
5. Firmly press the soil around the seedling to ensure good contact with the roots.
6. Water the transplanted seedlings gently to settle the soil and eliminate air pockets.
7. Gradually acclimate the seedlings to their new environment by providing shade or protection if necessary.
Q: How can I troubleshoot common issues during seed starting in coco coir?
A: Here are tips for troubleshooting common issues in coco coir seed starting:
1. Damping off: Increase air circulation, avoid overwatering, and treat with a fungicide if necessary.
2. Leggy seedlings: Provide more light or adjust the light source’s height to encourage compact growth.
3. Fungal diseases: Avoid overwatering and ensure proper drainage, use sterile seed starting materials, and treat with appropriate fungicides.
4. Monitor and control pests such as aphids, thrips, or fungus gnats by using organic pest control methods.
5. Take preventive measures by starting with high-quality seeds, maintaining cleanliness, and providing optimal growing conditions.
Q: What are the key takeaways for starting seeds in coco coir?
A: Starting seeds in coco coir requires attention to detail and following proper techniques. Here are the key points to remember:
1. Rehydrate and adjust the pH level of coco coir before sowing seeds.
2. Choose appropriate containers with proper drainage.
3. Select high-quality seeds for successful germination.
4. Follow the step-by-step process for sowing seeds in coco coir.
5. Provide optimal conditions such as temperature, light, and air circulation for seedlings.
6. Manage nutrient levels and monitor for any deficiencies or excesses.
7. Transplant seedlings carefully to their final containers or garden beds.
8. Troubleshoot common issues as they arise, taking appropriate measures.
Remember to enjoy the process and apply the knowledge gained to have successful seedlings and thriving gardens.
